
It’s surprisingly easy to make a beautiful terrarium. Closed terrariums, whilst not giving you the air quality benefits of non-jarred indoor plants, are easy, fun, beautiful to look at, and are really easy to care for as they need little or no watering due to the closed eco system. This week I made my very own closed terrarium, and I’d love to share with you how it’s done.
Right now is Clerkenwell Design Week with things happening all around the area, from new design collection showcases, to floral displays and workshops. The clever people at pioneering flooring company Interface have drawn the crowds with fascinating talks by experts on topics such as Biophilic design, what the future holds in terms of innovation and sustainability, and Dulux colour trends.
Alyson Mowat of Botanique Boutique held a terrarium making workshop at Interface, and I wanted to share the simple steps to make your own terrarium:
1. Take a glass jar and remove the plastic seal from the lid. Cover the bottom with slate, which acts like drainage.
2. Add half a spoon of aquarium or horticultural charcoal. They do the same job, but the aquarium version is cheaper.
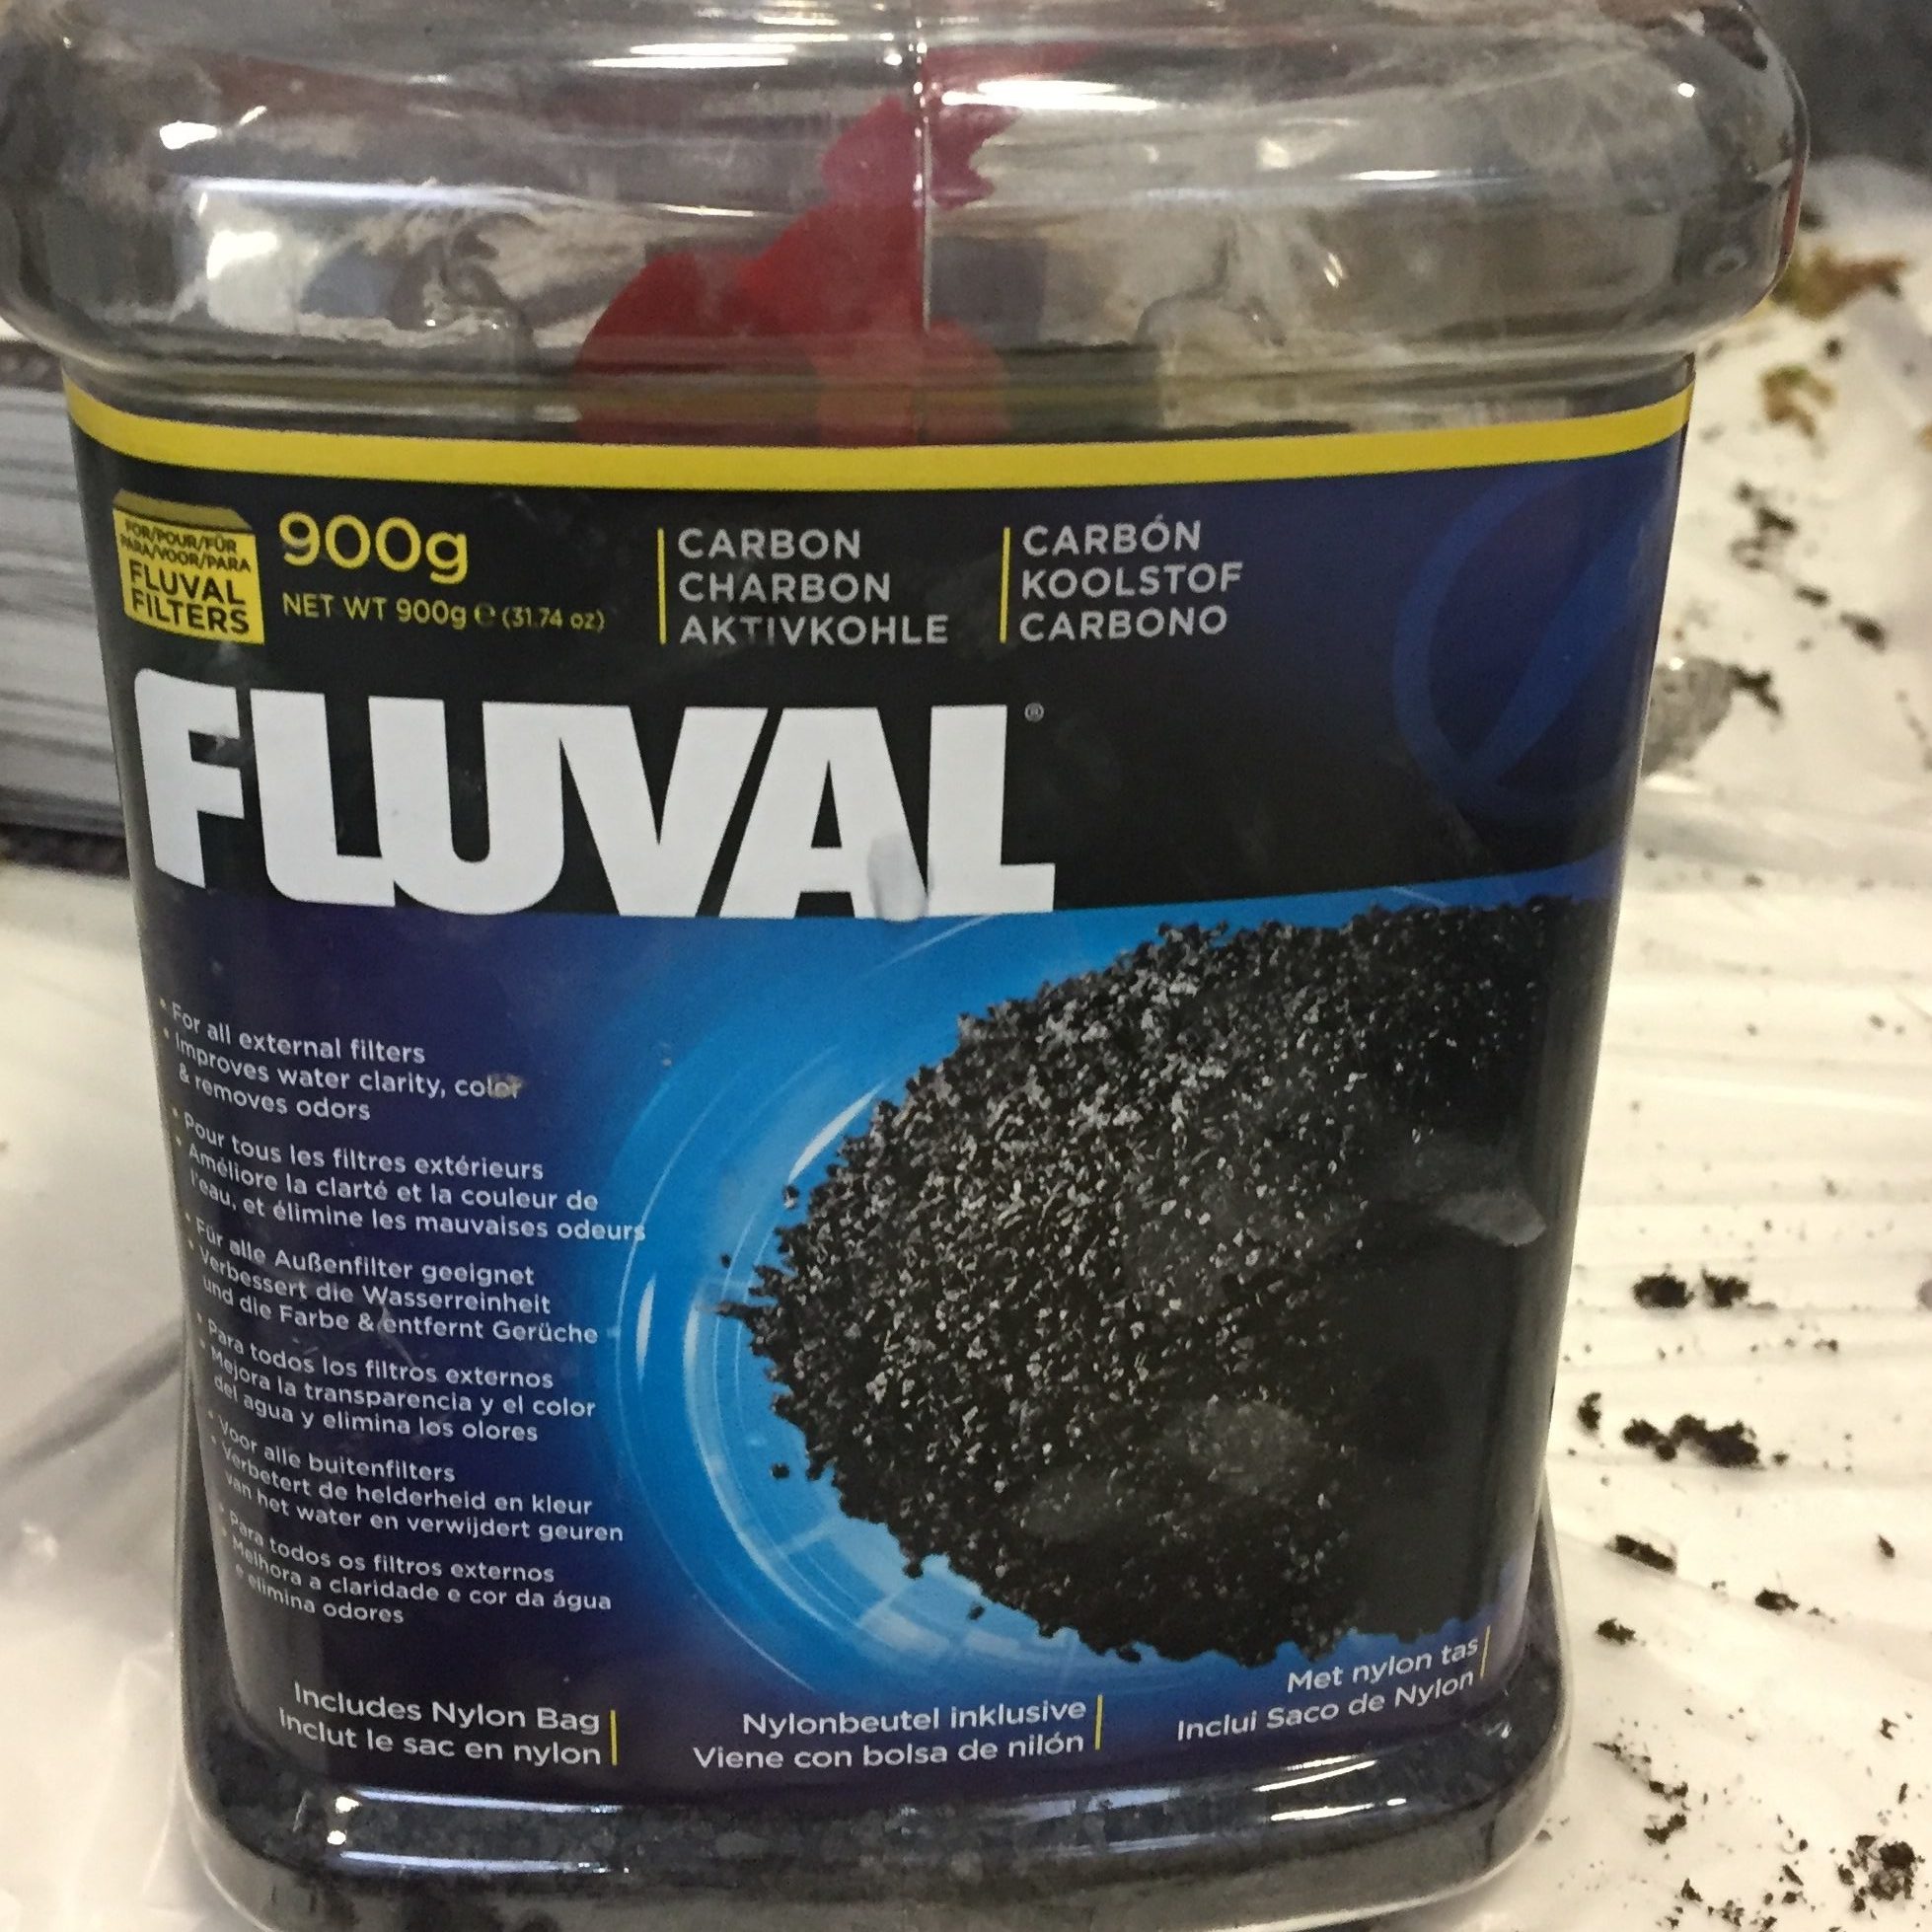
Sprinkle 1-2 spoonful aquarium charcoal on top of the slate, below the compost.

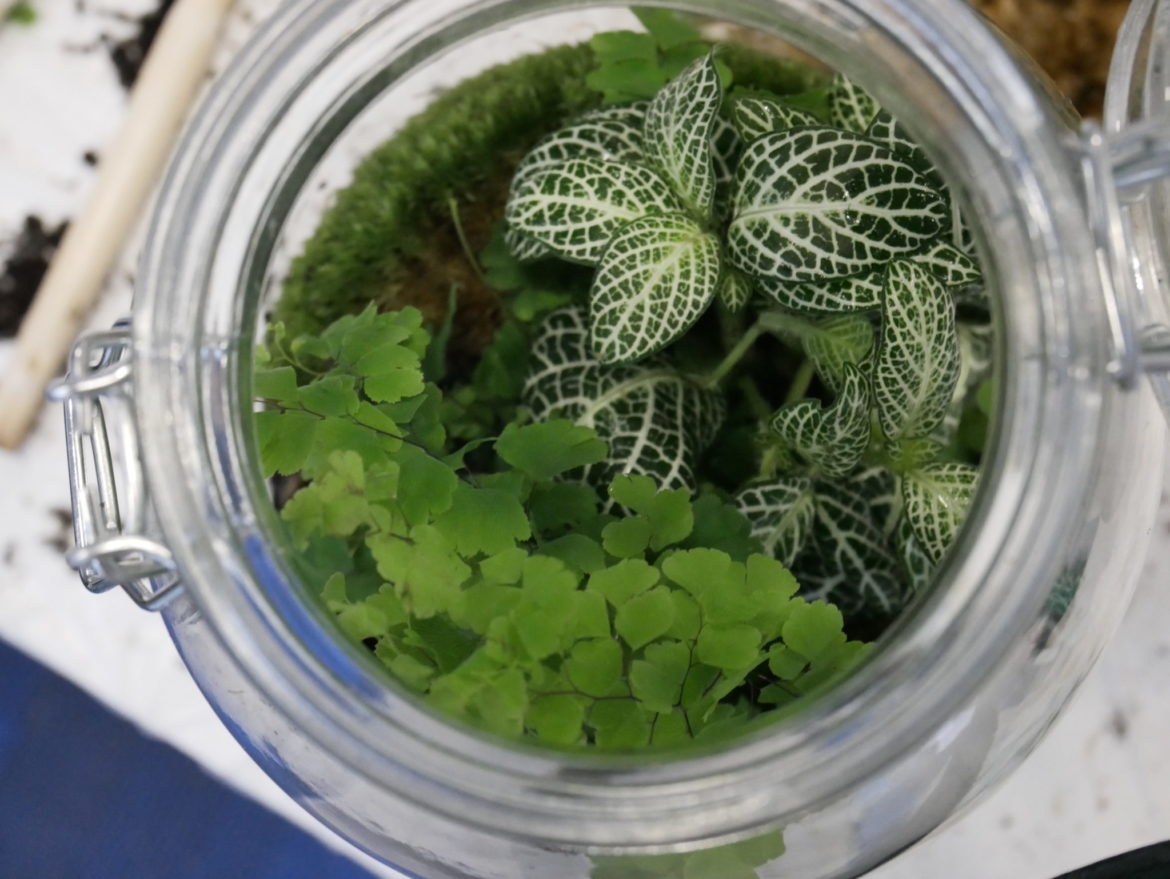
Compost, Fern & Fittonia to be placed in the compost.
3. Fill the jar half way with compost. Select two small plants; ferns and fittonia work well (green and/or red). Dig a hole big enough for one plant, then gently place it in the hole and fill with soil. Repeat with the other plant. You can use a blunt stick, perhaps with something rounded on the end, to press down gently around the roots.

Add a layer of slate to the bottom of the jar. The moss is mostly aesthetic, but is also a good indicator of the humidity inside the terrarium.
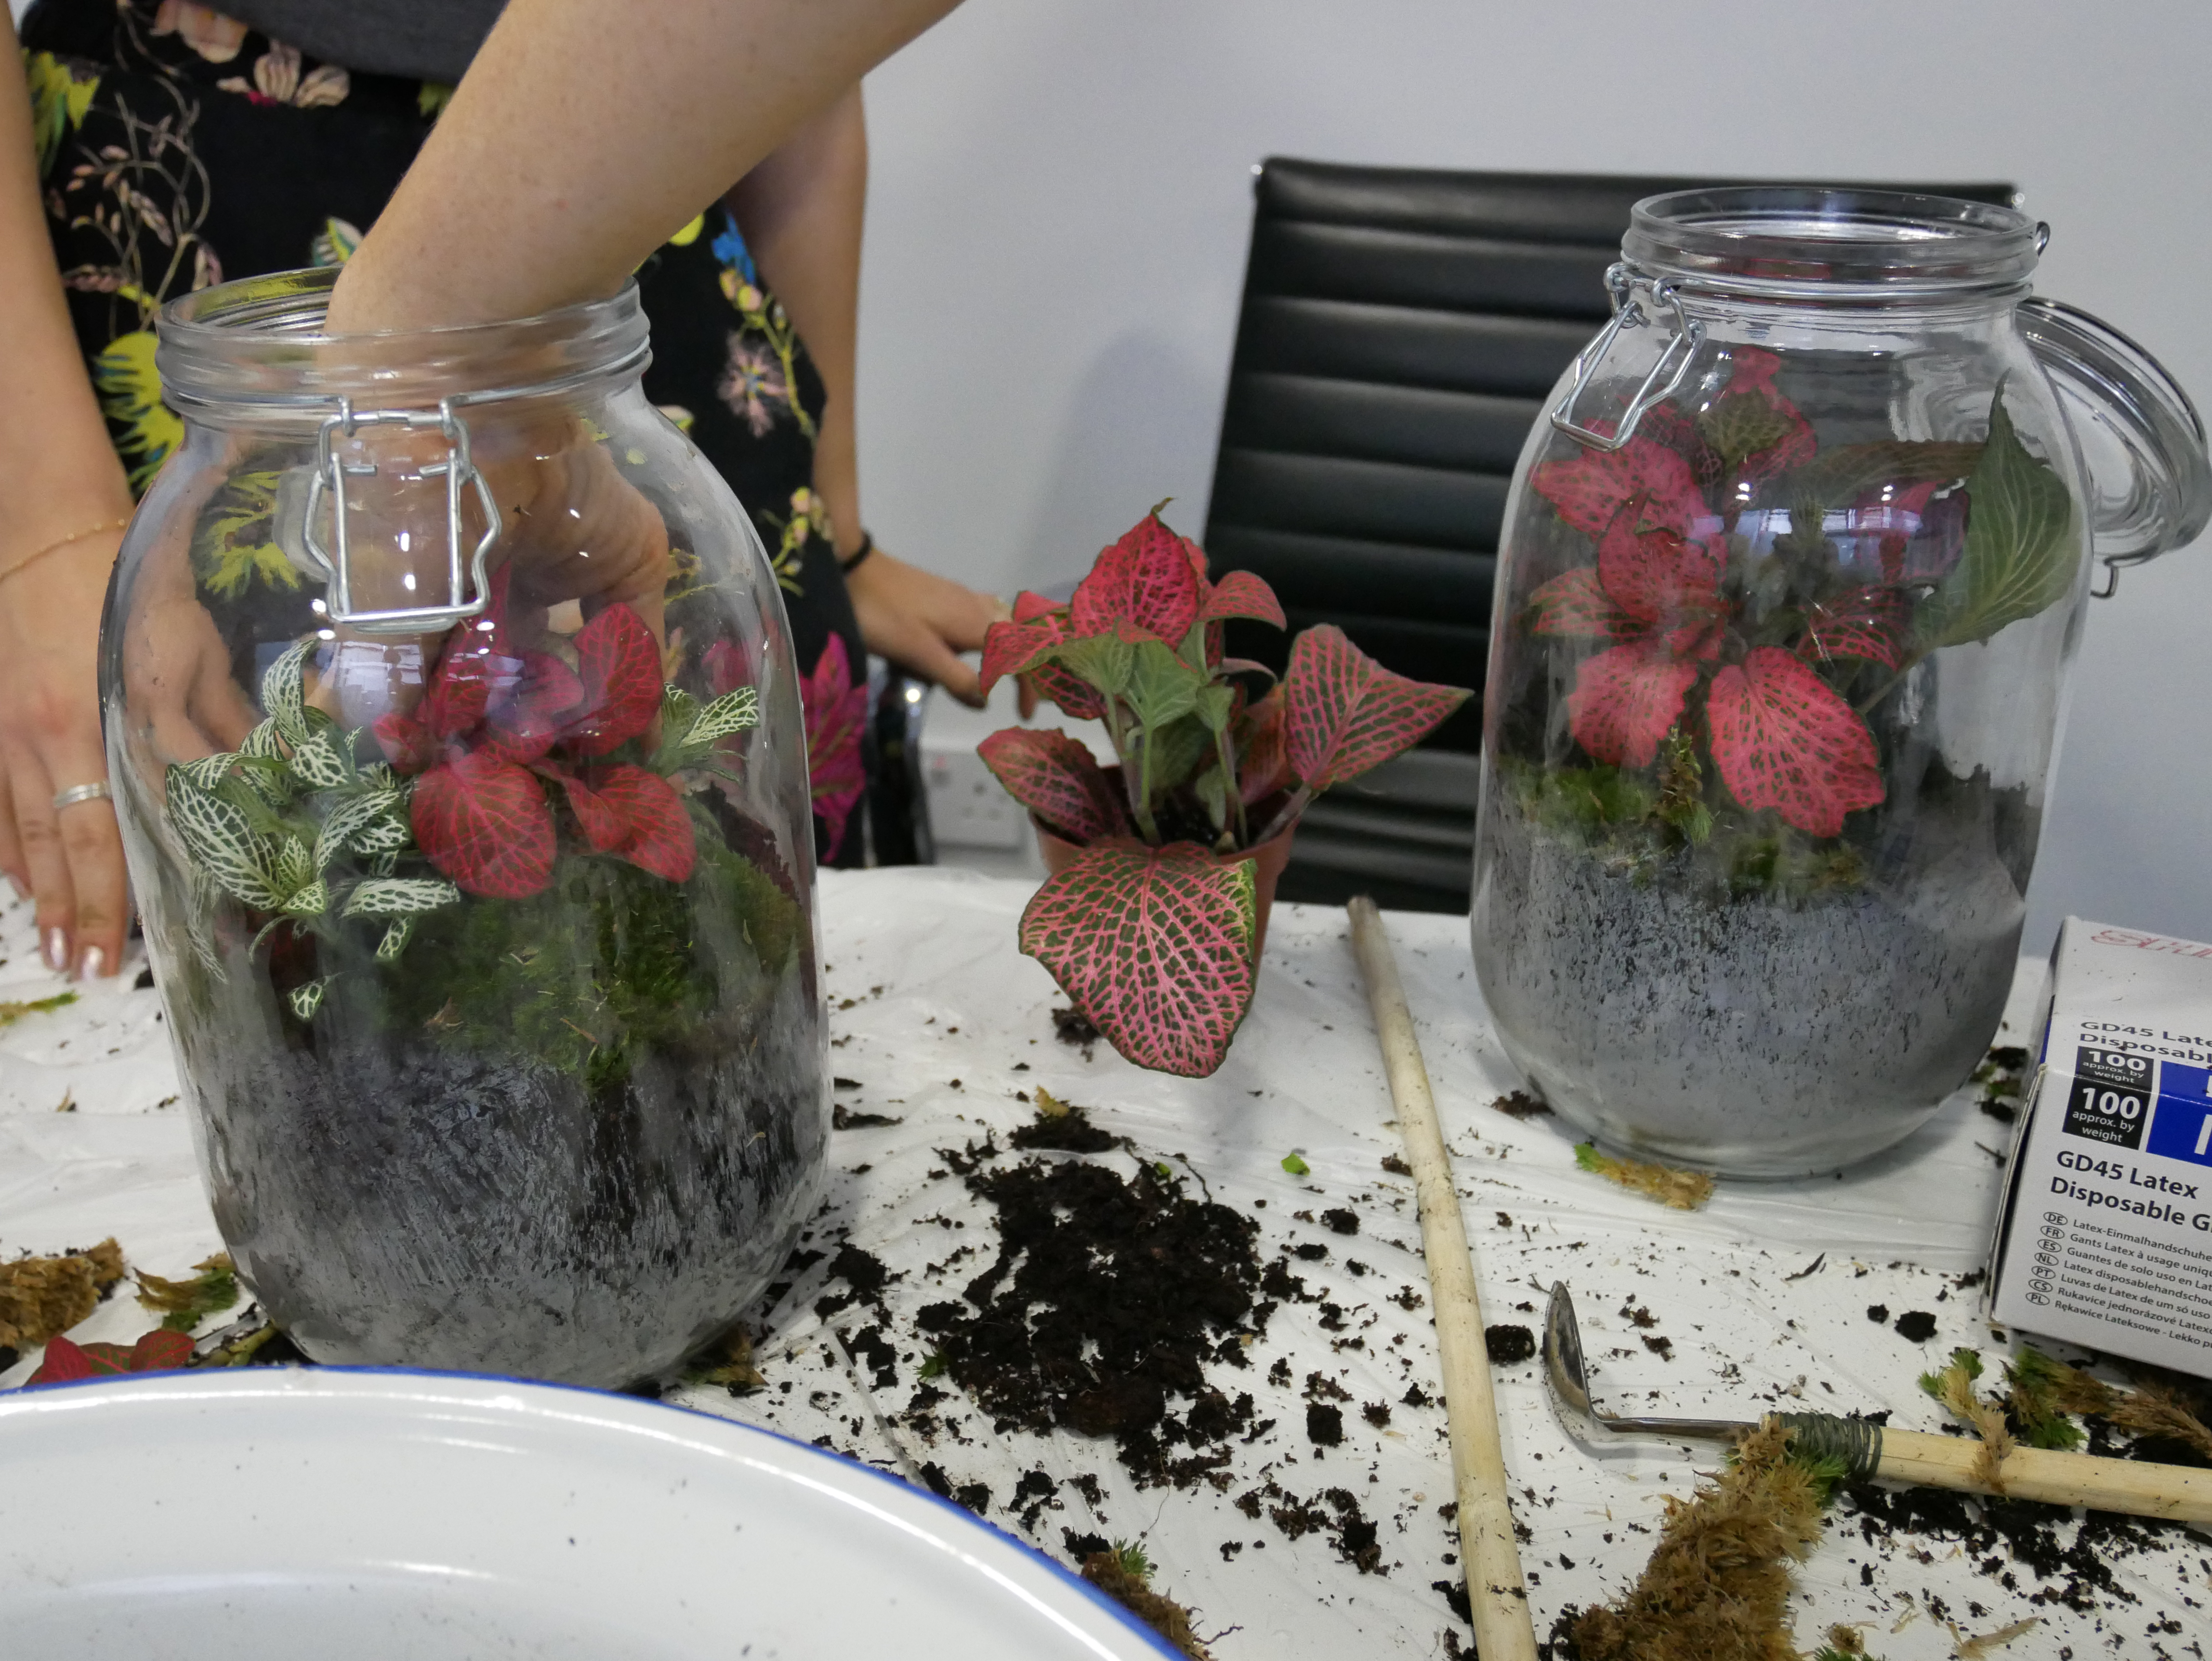
I chose to include only green plants in my terrarium, for a timeless appeal. However, there were also these beautiful red fittonias with the striking veins as an option.
4. Take a small handful of lush, moist moss and remove half of the brown underside. The moss doesn’t need this to survive, it’s just to help it cling onto to rock. Press the green side against the glass and slide it down into position next to the plants. Repeat with another piece of moss if you wish. You can use a use a paint brush to clear soil and bits of moss from the leaves.
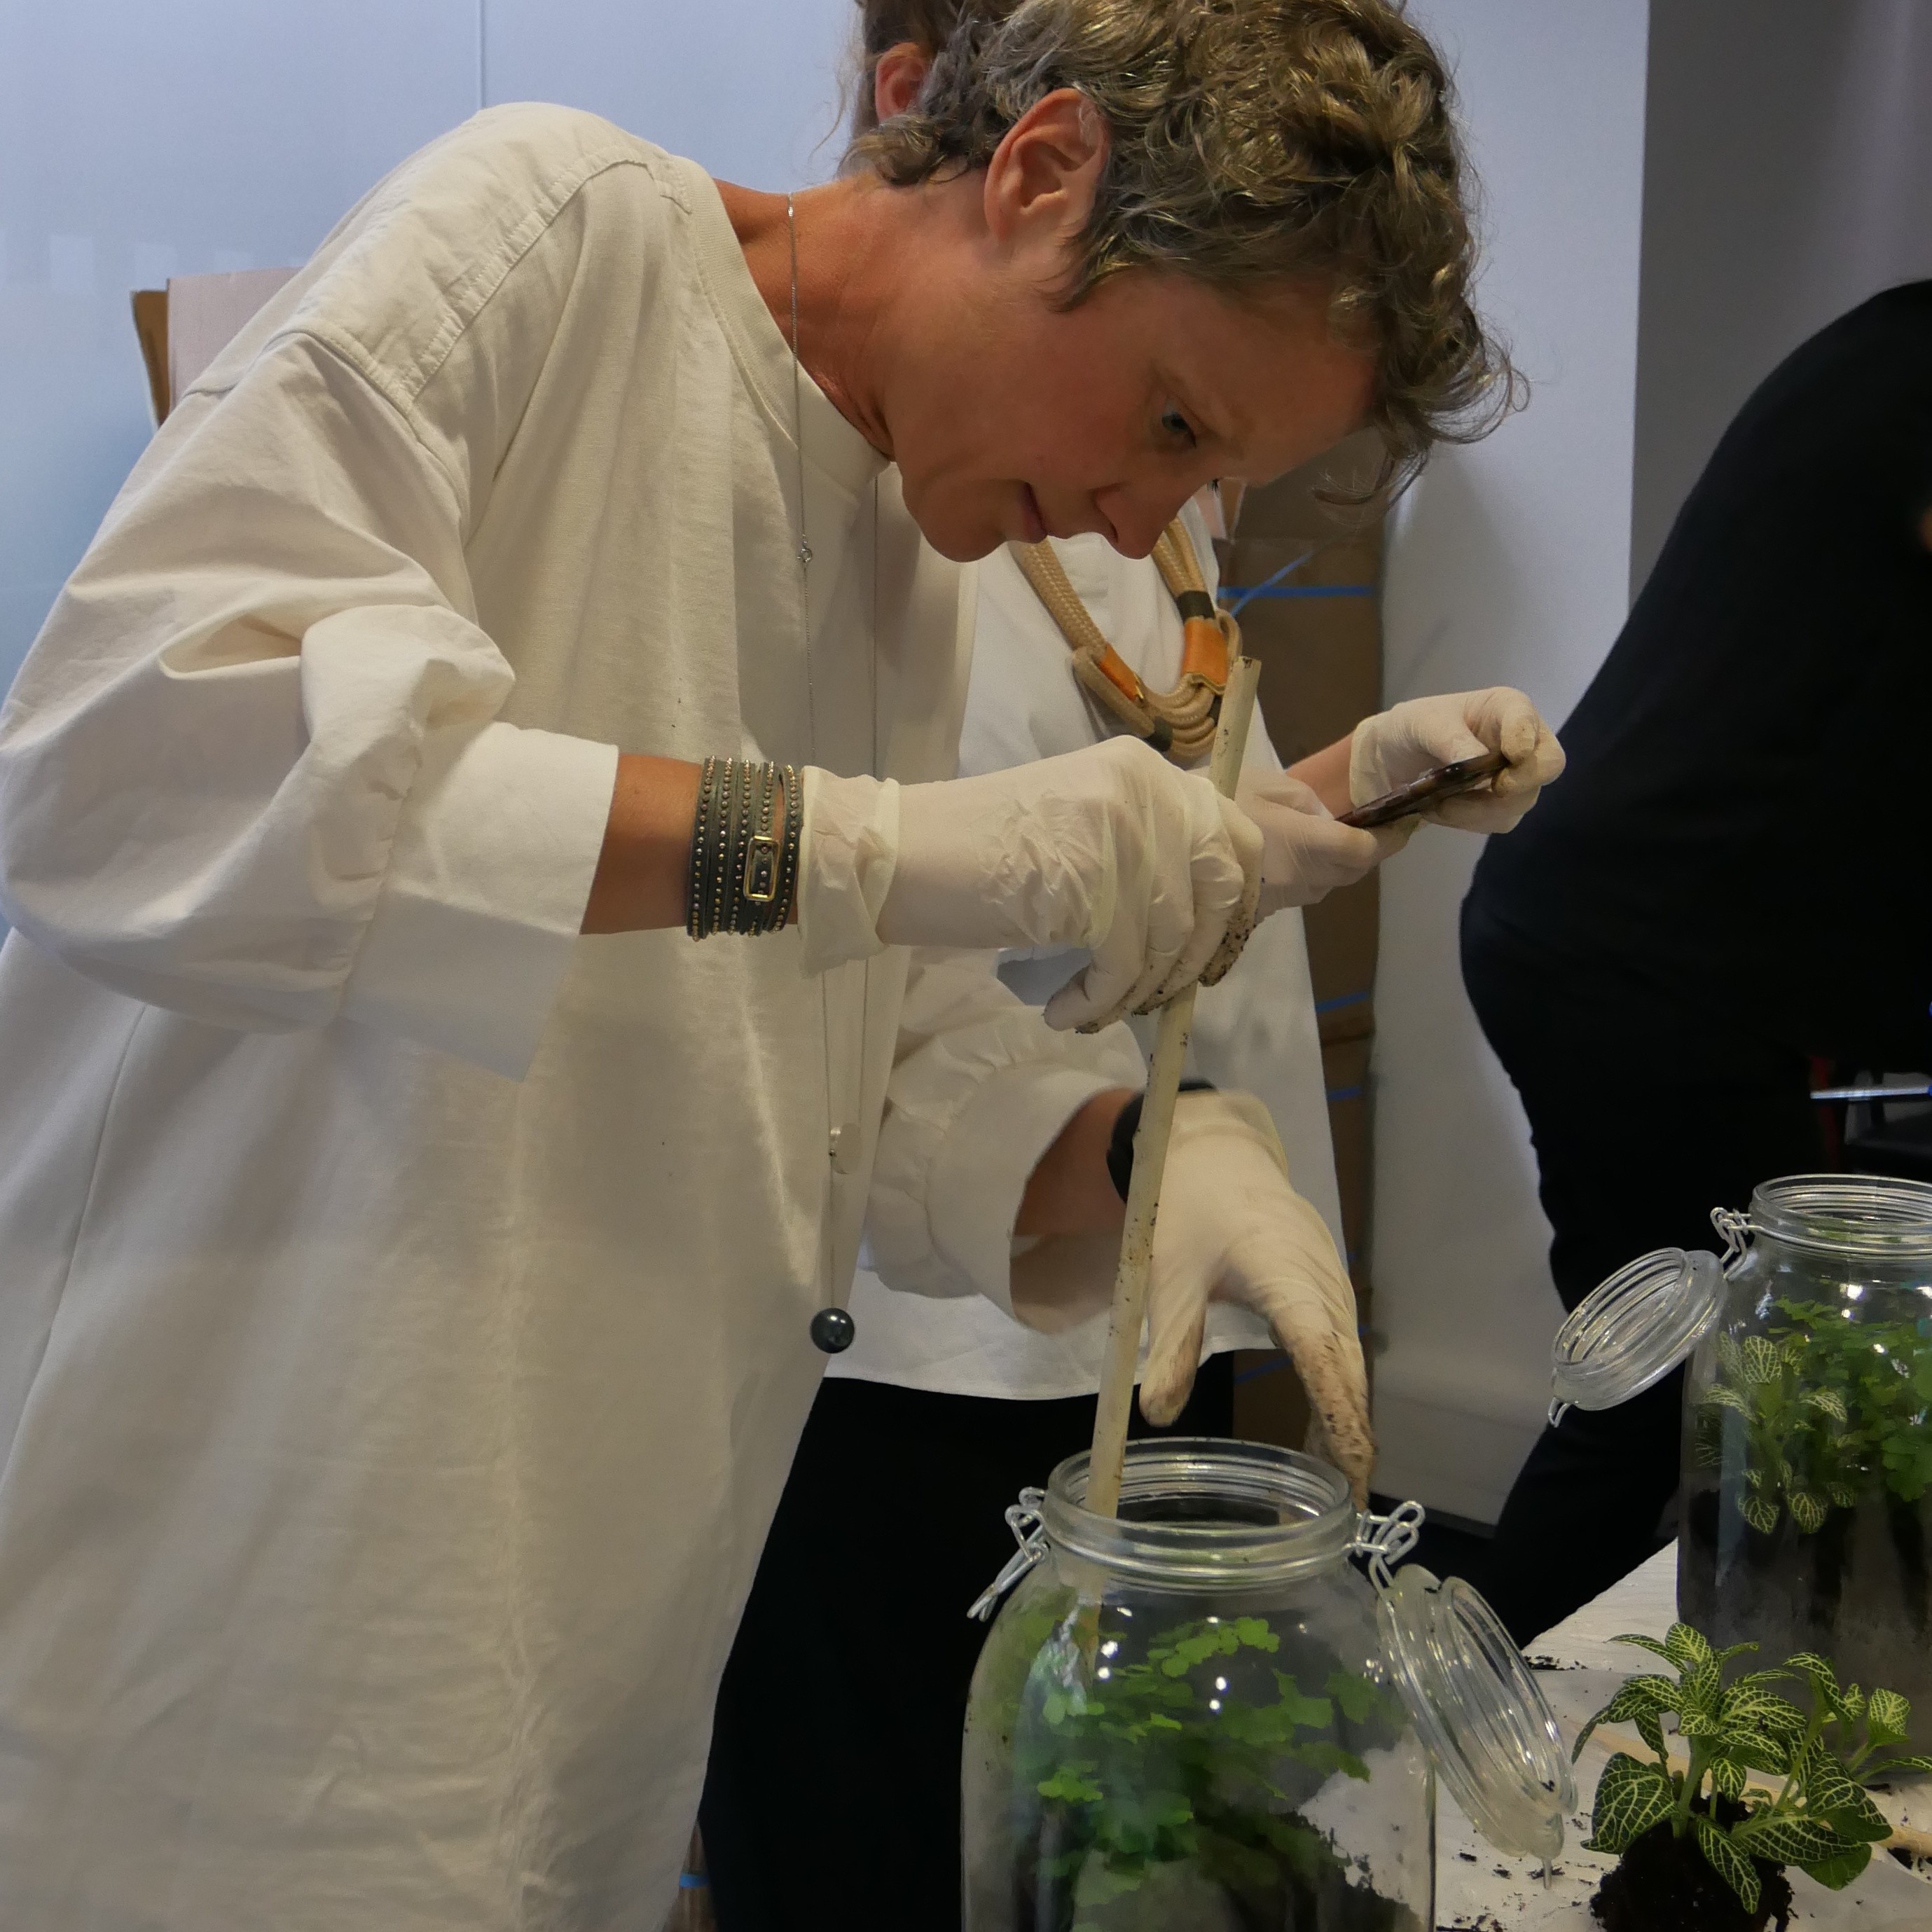
A stick can help adjust everything neatly in place inside the terrarium.
5. Using a large pipette if you have one, sprinkle one dose of water around the plant. Clean the inner sides with a paper towel and close the jar lid.
And there you have it, your very own closed terrarium! Theoretically, this should survive for years without water. If the moss turns brown at the edges, you need to move the terrarium. It wants a bright spot but not in direct sunlight. There should be about 50% humidity in the jar. Good luck, and I’d love to see your terrariums! Tell me all about it here or in the post comments on my social channels.
For more ideas on how to bring greenery into your home, have a look at my post What is biophilic interior design? Using nature for wellbeing and the page explaining biophilic design.
